Add Timeseries Table Panel
Navigate to Dashboards
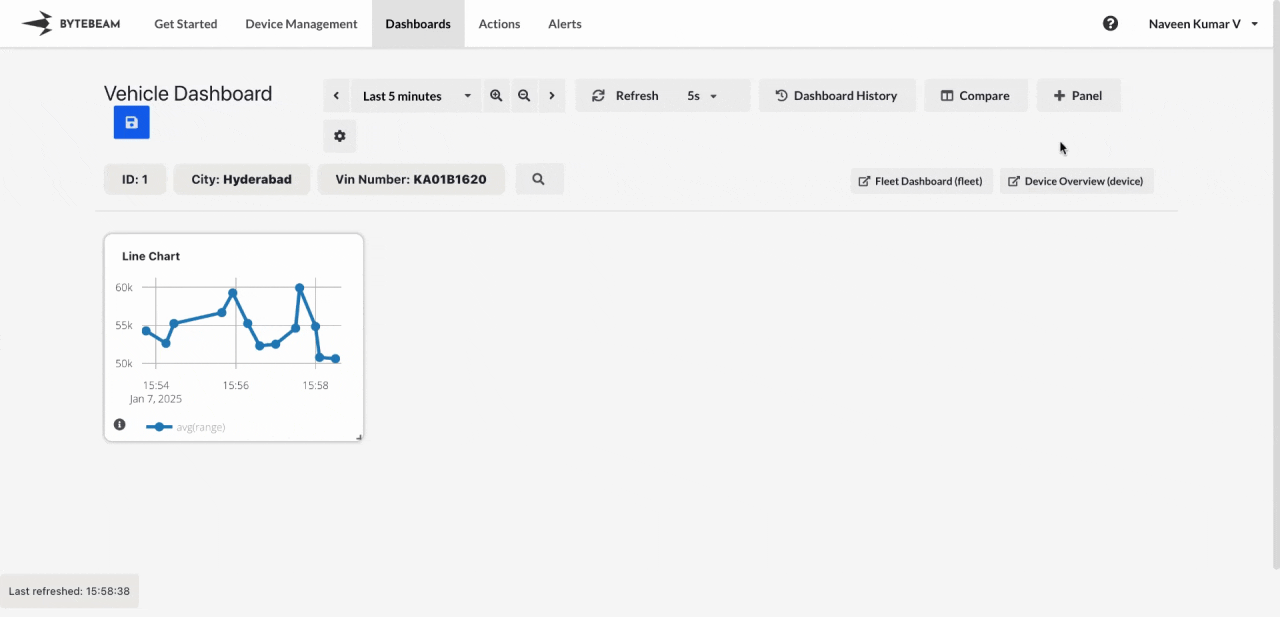
Go to the Dashboards tab, select the desired dashboard, and click on the + Panel button to create a new panel.
Configure General Settings
You will be presented with options to configure:
- Title: Add a descriptive title for the panel.
- Stream: Select the data stream or table.
- Columns: Choose individual columns to display or click Add All Columns to include all available columns.
- Sort Order: Toggle between ascending or descending order to sort the table by a specific column.
- Filters: Apply filters to exclude or include rows based on conditions. Filters can be set by:
- Selecting a column.
- Choosing an operator (e.g., equals, greater than).
- Entering a value.
Preview Data
As you select columns and filters, a preview of the Timeseries Table will appear on the left side of the screen. This lets you validate the selected data and configuration.
Customize View Settings
Switch to the View tab to fine-tune the appearance:
- Show Numeric Values in Hexadecimal: Enable this option to display numeric values in hexadecimal format.
- Enable Units: Display units associated with the data.
- Round Off Values: Set the number of decimal places to display for numeric columns.