Step 1. Integrate Bytebeam SDK with an ESP project
Clone Bytebeam ESP IDF SDK
Clonebytebeam-esp-idf-sdk using a Git client bytebeam-esp-idf-sdk
- src: This folder contains source code for various functions that can be used by applications for interacting with Bytebeam platform.
- examples: This folder contains few example projects showing how you can use the SDK.
- provisioning: Application to push device config data to file system of device (say SPIFFS).
Provision device with device config data
Each device needs a configuration file to connect to Bytebeam. Download the configuration file and flash it to SPIFFS by following the below steps:- Download the device configuration JSON file from Bytebeam cloud by following the Provisioning a Device guide.
- After downloading the config file, rename it to the device_config.json
- Step into config_data folder within the provisioning project and place device_config.json file within this folder i.e Replace the file if it is already there.
- Launch the ESP-IDF terminal and run the following command’s.
Add Bytebeam ESP IDF SDK to the CMake Build System of ESP project
Once the device is provisioned, integrate thebytebeam-esp-idf-sdk into your existing ESP project:
- Open top-level
CMakeLists.txtfrom your ESP project in an editor. - Add
bytebeam-esp-idf-sdkcomponent to your project by settingEXTRA_COMPONENT_DIRS
cmake_minimum_required() command. Look at the example project for reference.
- Open project-level
CMakeLists.txtfrom your ESP project in an editor. - Add
bytebeam-esp-idf-sdkcomponent to your projectPRIV_REQUIRES
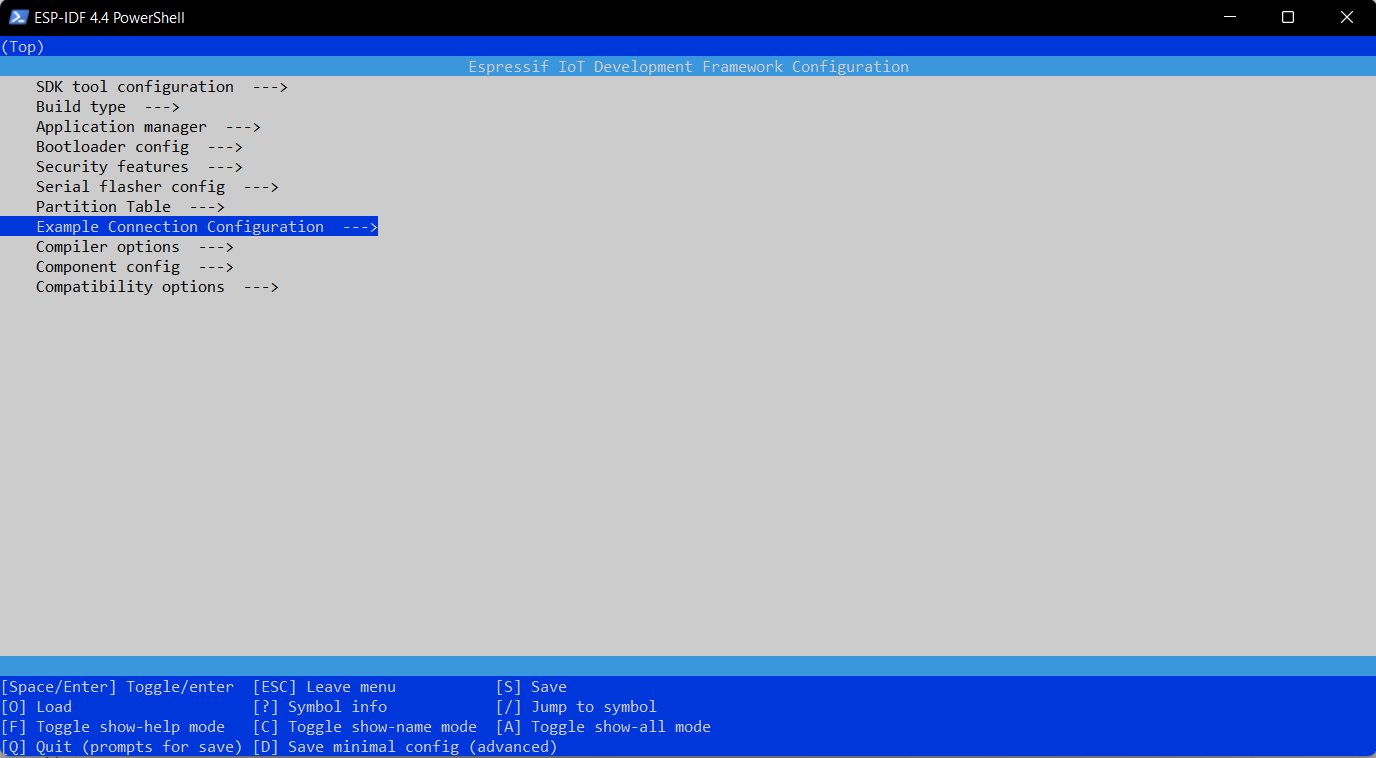
Step 2. Configure Hardware
To connect your ESP device to Bytebeam cloud and exchange data, you need to configure wifi and partition settings. Follow the below steps to configure your project :) Launch the ESP-IDF terminal and run the following command’s.Configure Wifi/Ethernet
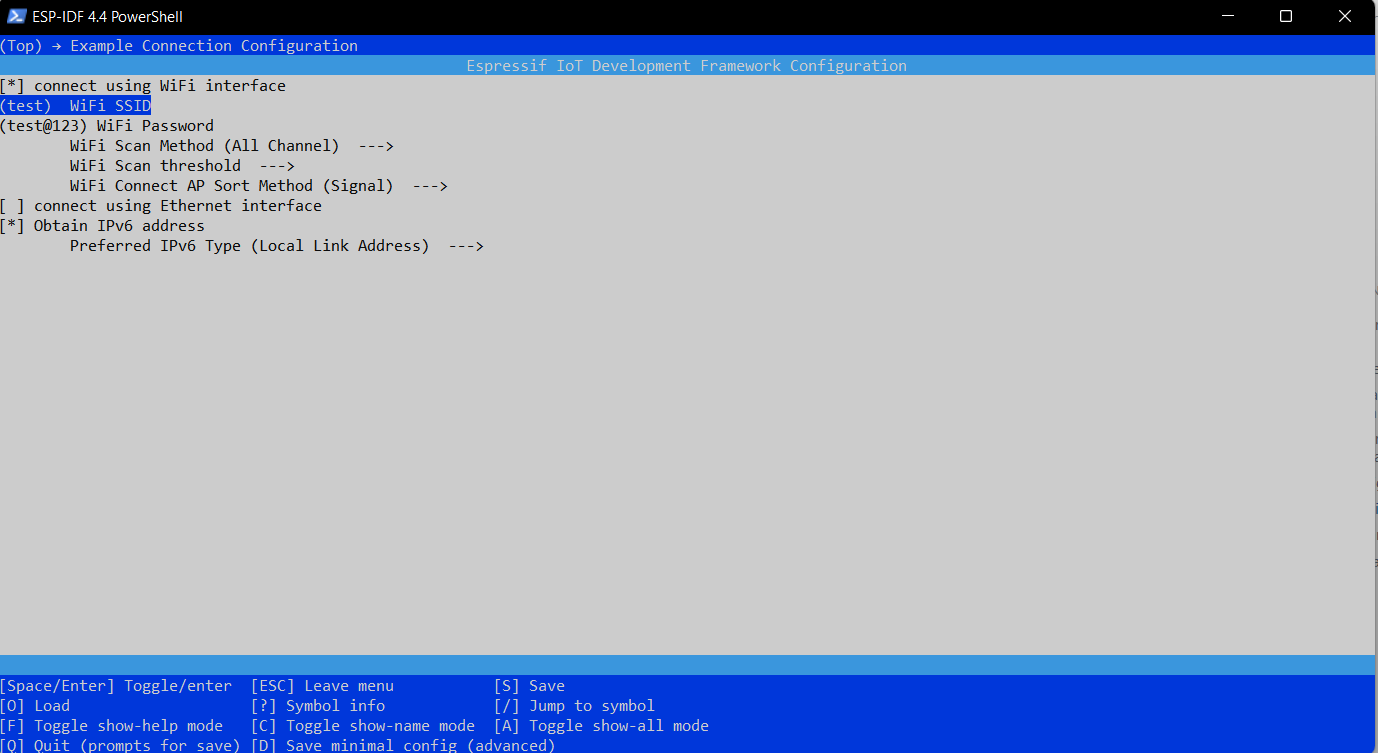
- Configure Wi-Fi/Ethernet settings by selecting Example Connection Configuration option.
- Enter your WiFi SSID and Password.
- Press
ESCto exit out of the menu
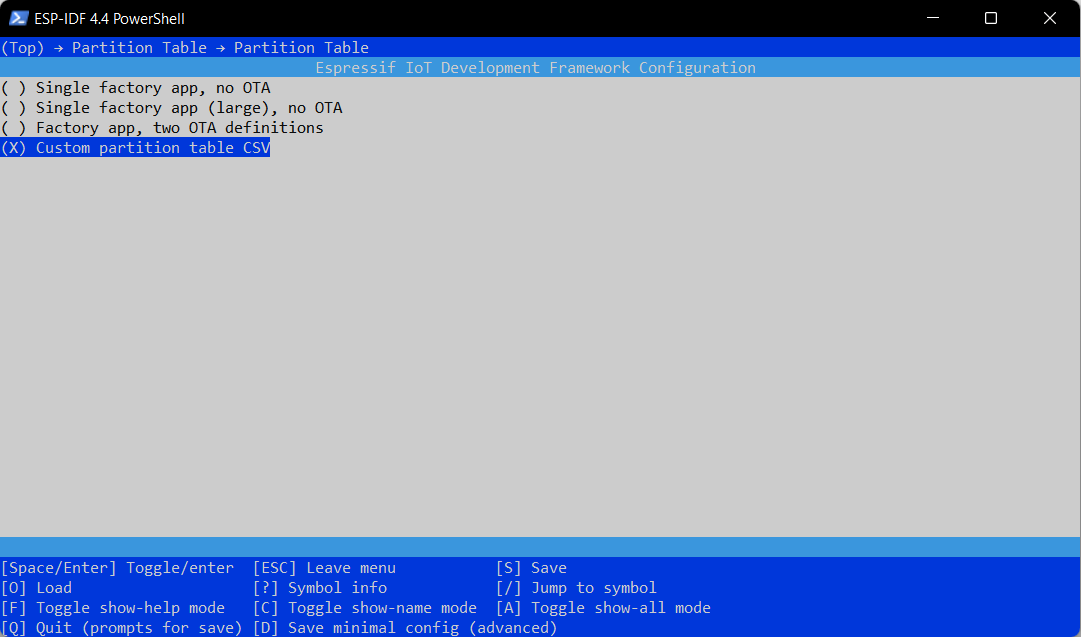
Configure Partition table settings
This is required for implementing Over the air updates. The below steps partition your ESP flash into two app partitions and one partition for storing the device config file.- Copy
examples_partition.csvfile from example project and paste it into your ESP project. - Open menuconfig and select Partition Table option.
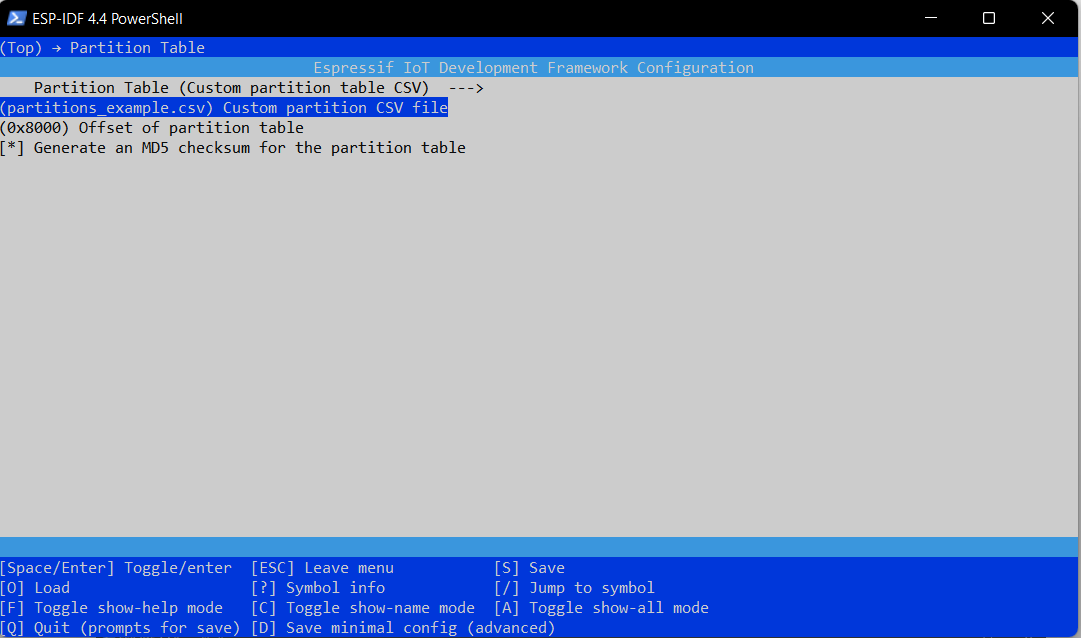
- Select Custom partition table CSV option from the available options and press
ESCbutton. - Set the name of Custom partition table CSV to partitions_example.csv and press
ESCbutton.
Step 3: Initialize and start bytebeam client
The next step is to initialhe below code to do so:Step 4: Build and Flash application
You can build and flash your application as usual withidf.py .