 To edit a dashboard while staying within the dashboard in the Bytebeam console, follow these steps:
1
Navigate to Dashboards
Go to the Dashboards tab in the Bytebeam console to view the list of available dashboards.
2
Open the Dashboard
- Locate the dashboard you wish to edit.
- Click on the dashboard name to open it.
- If it’s a Device Dashboard, it will take you to the devices list page.
- If it’s a Fleet Dashboard, it will directly open the dashboard.
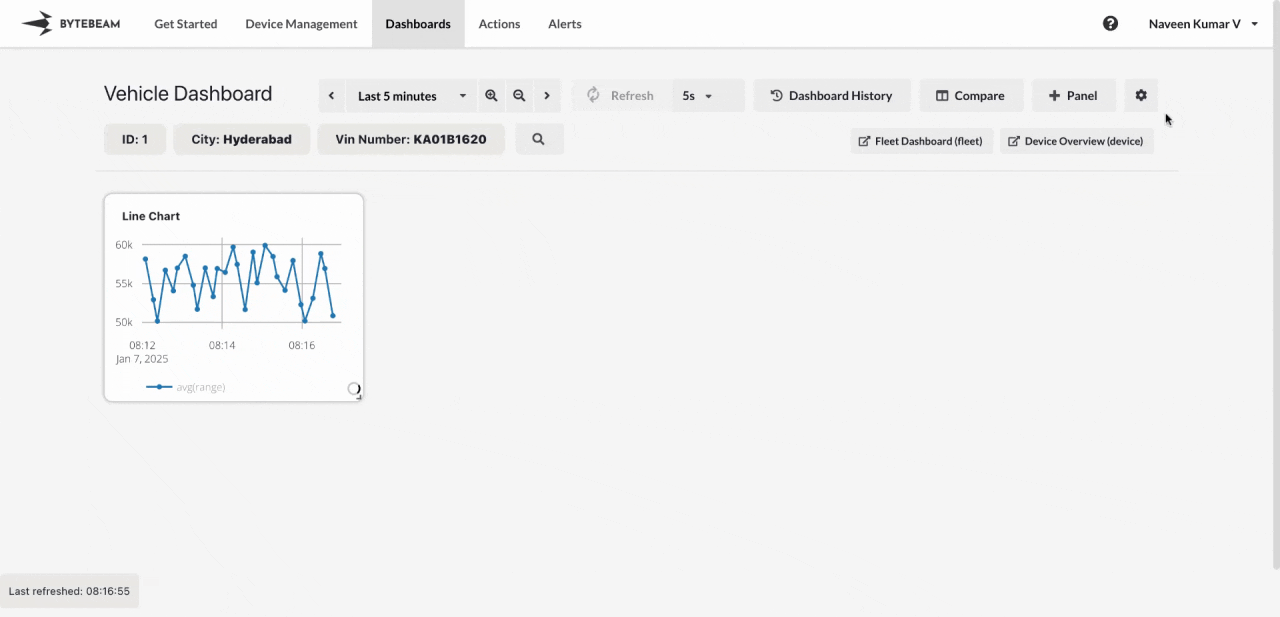
3
Click on the Settings Icon
- Once inside the dashboard, click on the Settings icon present in the dashboard toolbar.\

4
Modify Dashboard Configuration
- A configuration modal will appear where you can update the settings of the dashboard.
- Options available for editing include:
- Name: Update the title of the dashboard.
- Metadata Filters: Add or modify metadata filters.
- Time Range: Update the default time range or enable/disable time range selection.
- Refresh Interval: Change the refresh frequency for the data.
- Dashboard Links: Add the existing dashboards from the dropdown list.
- Access Control: Update owners and viewers for the dashboard.
- Hide From Admins: Enable the toggle to hide the existing dashboard even from other admins.

5
Save the Edited Configuration
- After making the required changes, click Save in the modal to apply the updates directly to the dashboard.
- These changes will reflect in the dashboard immediately.
6
Save the Dashboard
- To ensure that these edited configurations are saved for future use, click on the Save button on the dashboard page.
- Without saving the dashboard, the configuration changes will not persist after you leave the page.
Important Info
Ensure you click on the Save button inside the Dashboard after making changes, or your edits will not be retained for future sessions.
Hide From Admins option will be visible only in the Edit or Clone Dashboard modals.