Overview
Webhook notification rules allow you to send real-time alerts to a specified URL when conditions or thresholds in your data streams are met. Used to integrate Bytebeam with external services, webhook notifications automate workflows by allowing you to customize the request body and headers with key-value pairs. For example, a webhook notification can send data to a monitoring service when a device goes offline, triggering automated recovery actions.Creating Webhook Notification Rule
 To create a Webhook Notification in the Bytebeam console:
1
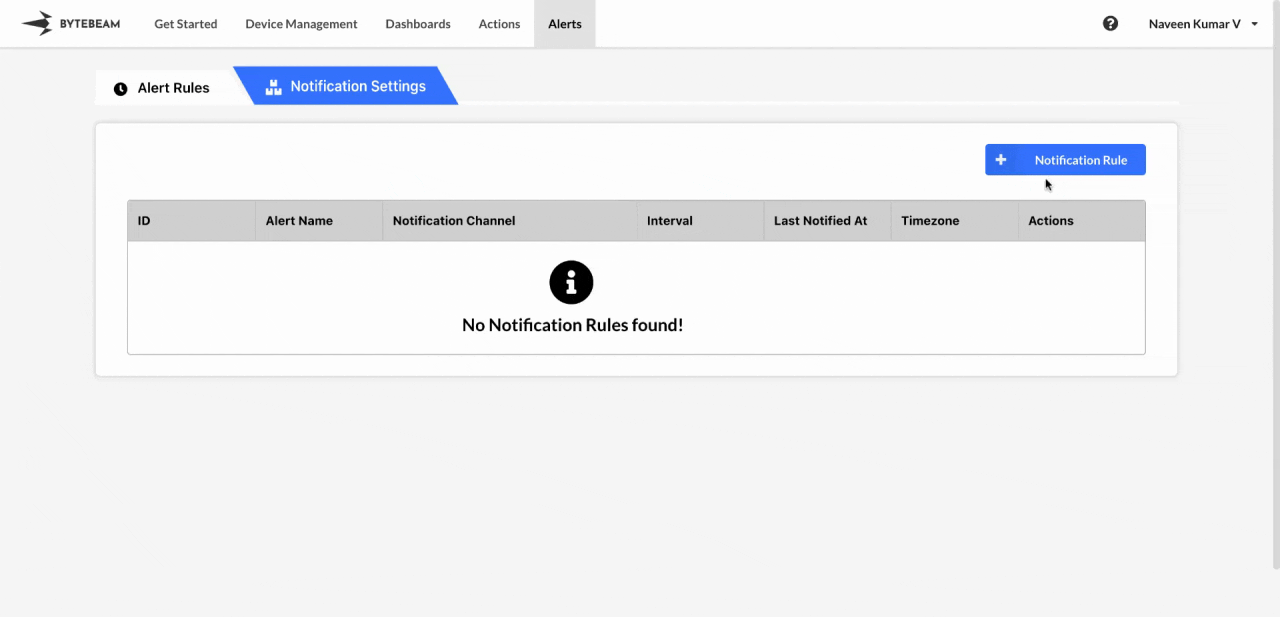
Access Notification Rules
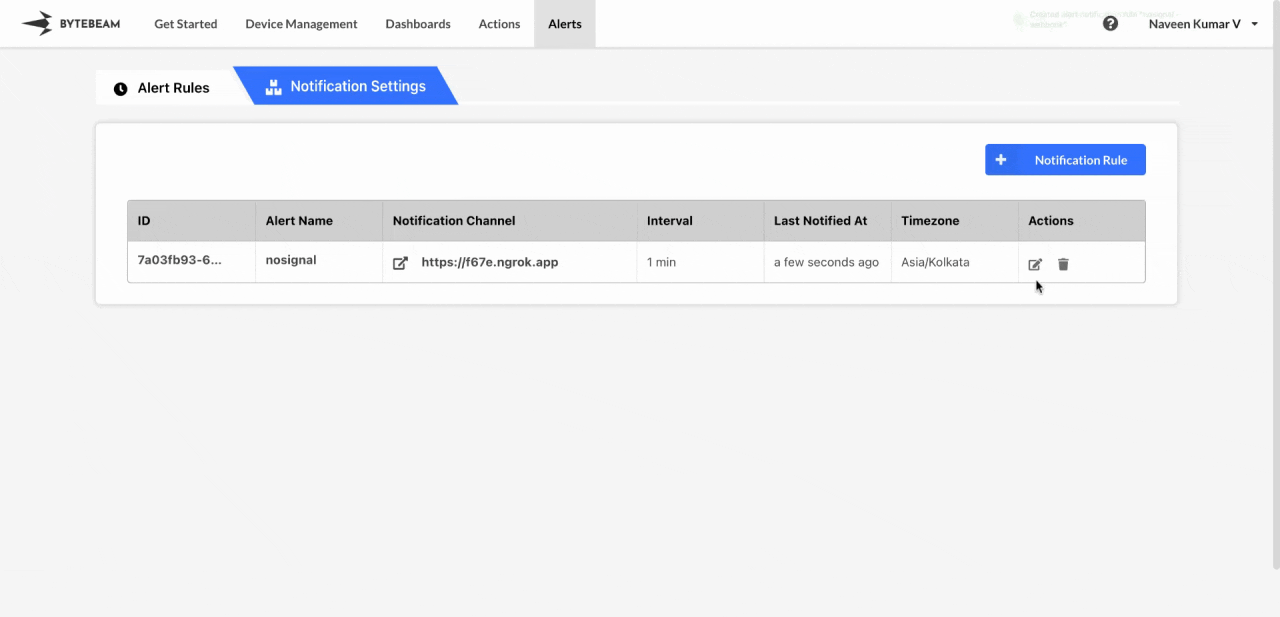
Navigate to the Alerts tab and click on Notification Rules.
2
Initiate Creation
Click on the + Notification Rule button and select the Webhook option.
3
Fill Details
Enter the notification rule name and the Webhook URL where the notification should be sent. Optionally, you can add Header Keys such as Content-Type and Header Values such as application/json. You can also select the created alert rules, enable Notify on Deactivation toggle and enter notification interval, define how frequently the webhook should be sent, and specify the alert template along with timezone. Finally, click Submit.
You can test the notification by clicking on Test Notification to ensure the webhook is being triggered correctly and received at the specified URL.
You can customize the activation and deactivation templates to suit your needs by following this guide.
Hover over the notification rule name to view its ID and name in the tooltip. Click on the name to copy both to the clipboard.
Editing Webhook Notification Rule
 To edit an existing Webhook Notification in the Bytebeam console:
1
Access Notification Rules
Navigate to the Alerts tab and click on Notification Rules.
2
Initiate Edit
Find the Webhook notification in the Notification Rules and click the Edit icon next to it.
3
Modify Details
You can change the Webhook URL, update or add new Header Keys and Header Values, modify the template, timezone, notification interval and enable or disable toggle for notifying on deactivation. After making the changes, click Submit to save your updates.
Deleting Webhook Notification Rule
 To delete an existing Webhook Notification in the Bytebeam console:
1
Access Notification Rules
Navigate to the Alerts tab and click on Notification Rules.
2
Initiate Deletion
Find the Webhook notification in the Notification Rules and click the Delete icon next to it.
3
Confirm Deletion
Enter the exact text that is shown on the modal and click Submit to delete the notification.