- hello_app - Prints “Hello from Bytebeam” every 3 seconds.
- app_update_rollback.sh - This script replaces the old application with the new application. If the new application doesn’t work, this script replaces it with the working version of the application.
- updater - This is a wrapper script for app_update_rollback.sh script.
- make_firmware_update.sh - It creates the update tar file.
Step1: Prepare update tar
Firstly on your Linux system, we need to create an update tar file for Raspberry Pi. For that, Download all the files mentioned above from GitHub. Next, we need to change the permissions for all these files usingchmod command
Step 2: upload update Tar
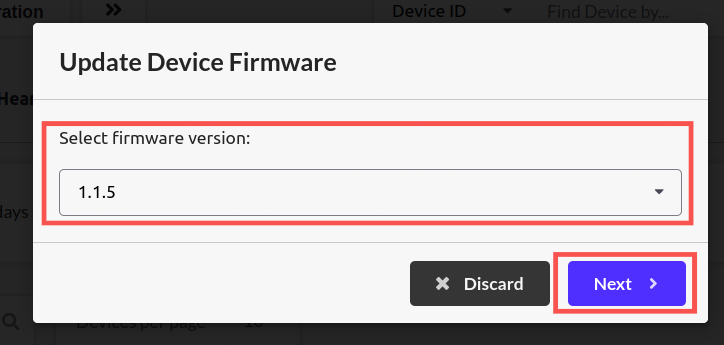
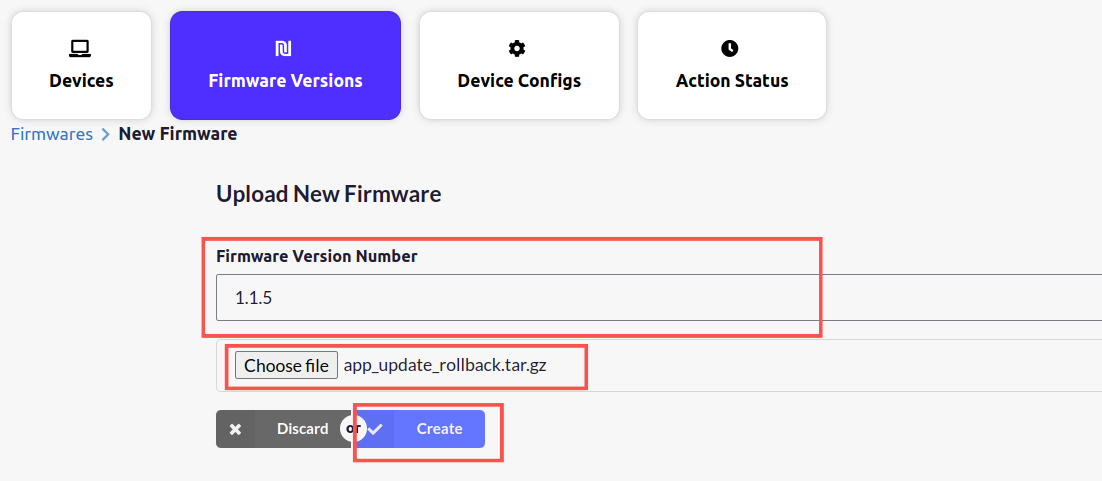
Next, we need to upload the tar to bytebeam cloud. For that go to the device management panel and navigate to the Firmware Versions tab. Then click on Upload New Firmware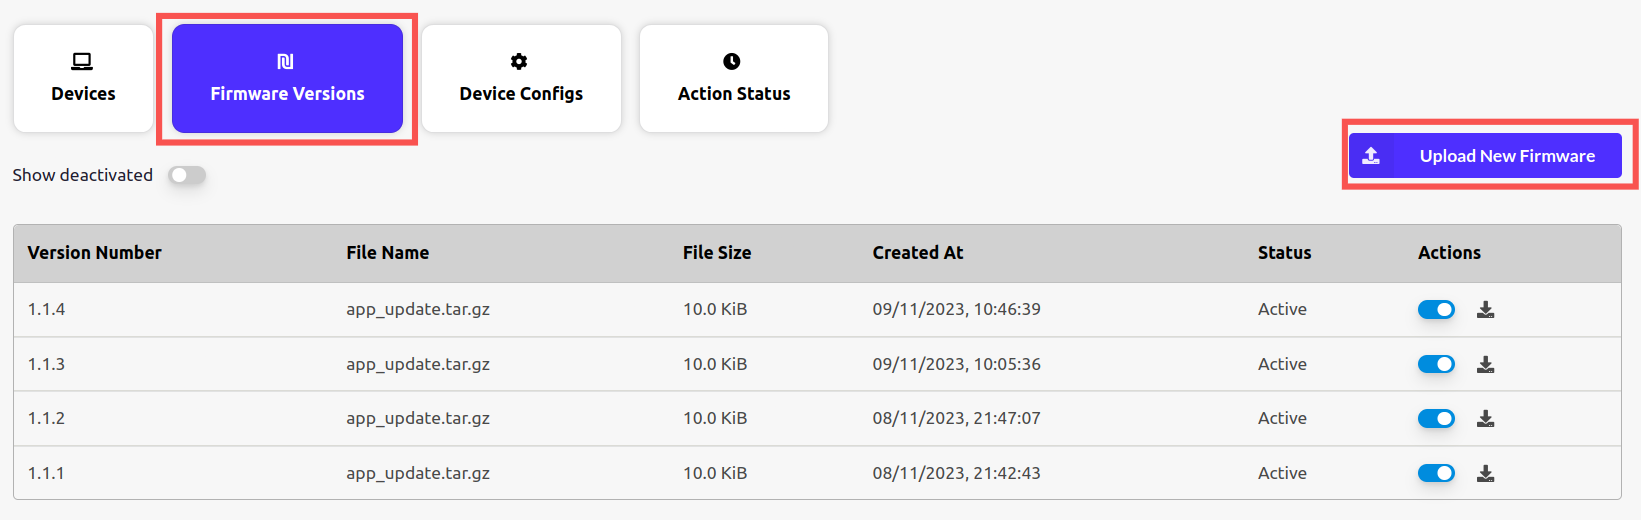
Step 3: Set the application path
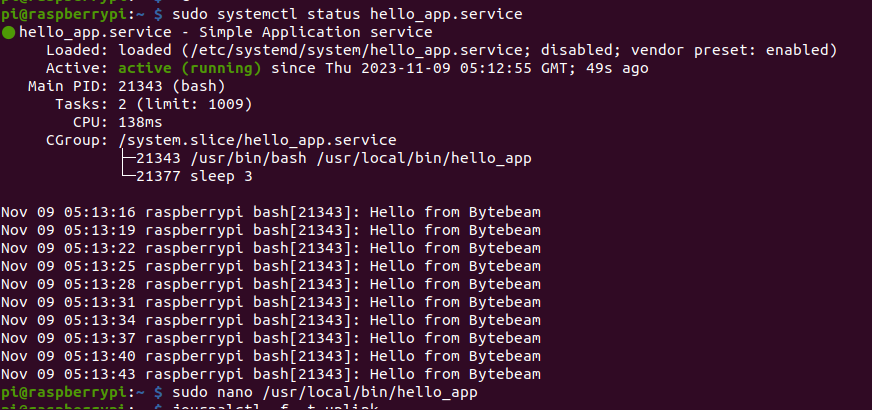
In step 1 we have already assumed that you want to update the hello_app that exists on your remote device and we created an update tar accordingly. On the remote device, the app is expected to be in /usr/local/bin location. If it’s not there then create a new hello_app in /usr/local/bin.Step 4: Create systemctl service to debug update changes
To debug your changes after the app update, Let’s create a service that runs hello_app. So, create this service named <App Name>.service and place it in /etc/systemd/system.Step 5: Trigger the “update firmware” action from bytebeam cloud
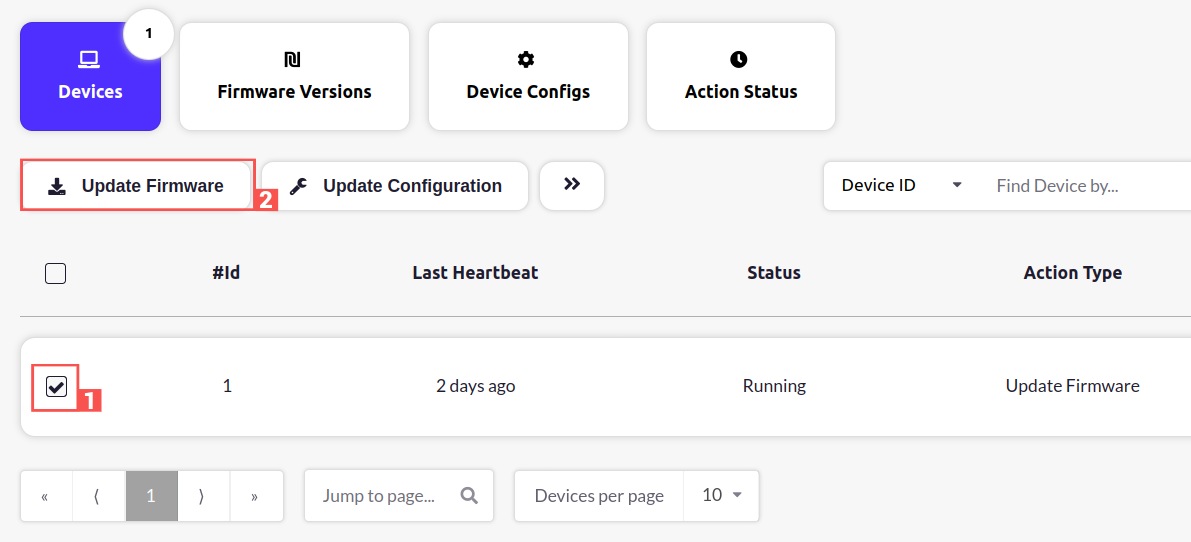
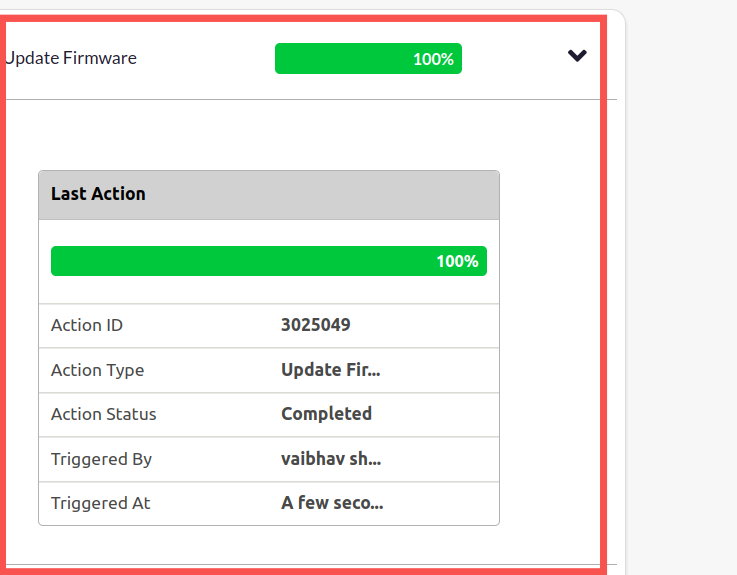
Now let’s proceed with our OTA update. For that, Go to Device Management panel and select the device Next, Click on the update firmware